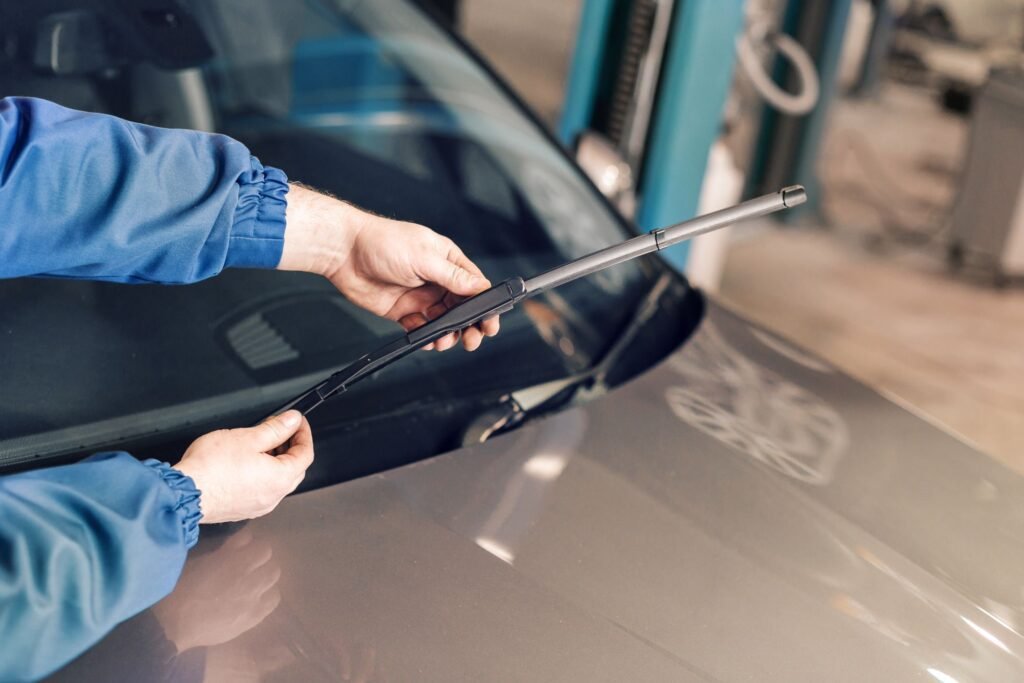
Sometimes auto repairs or regular auto maintenance tasks can easily be done at home. Changing or installing new wipers for your windshield is among them. It only takes a few minutes and if you will remember to inspect and, if needed, replace them before the rain comes, you’ll be glad you did. The entire job should only take around 10 minutes if you will just follow these simple instructions from the Columbia SC Auto Repair Pro at Sanford’s Automotive Service.
Today’s Job: Replacing or Installing New Windshield Wipers
Removing Your Old Windshield Wipers:
You need to handle windshield wiper replacement with caution. Remember: your wiper arm is made of metal, which, if not handled with care, could potentially create scratches or other damages to the glass of your auto’s windshield.
You will first need to pull the wiper assembly out and away from the windshield. The wiper will hold itself in the raised position once fully extended. Now use one hand to hold the wiper arm and the other hand to depress a small tab that is found on the underside where the wiper and metal arm join. Pressing the tab, you will simply slide the worn windshield wiper off of the metal arm. Slide it off by pulling the center of the wiper toward the bottom of your wiper arm.
Mechanic Tip:
Remember that your metal windshield wiper arm is spring loaded. Once the wiper has been removed, take extra caution against accidentally letting the arm snap back against the glass. Without the soft rubber, this arm can cause scratches or even cracking! To be on the safe side, once the wiper is removed, carefully lay the arm back against the windshield until ready to install the new one.
Line Up the New Wipers
In order to avoid mistakes, it is really best to line everything up before attempting to snap the new wiper into place. On the side of your wiper that attaches to the arm, you will find that one end has a curve across the top and the other has a flat plastic clip. Using the curved end, rotate the clip until the curve itself is pointing toward the wiper blade. Holding the wiper upside down beside the wiper arm, you will see that the hook shaped curve in the arm lines up with the curved plastic clip on the wiper.
Securing the New Wipers in Place
Now that you have got everything lined up and in place, you will want to lower the wiper over the metal wiper arm. You do this by putting the wiper arm between the sides of your new wiper, keeping the open hook shaped end facing your curved plastic clip. Now you should move the hook over the clip and gently pull the wiper upward, allowing the plastic clip’s rounded edge to slide into the hook. Once there, you will need to pull it tight enough to hear the assembly click into place. Once you have heard it click, gently lower the wiper arm back into place against the windshield. Congratulations! You have just installed your first new windshield wiper! Now, following the same steps, replace your other wiper(s) and you are done and ready for the next big rain.

